
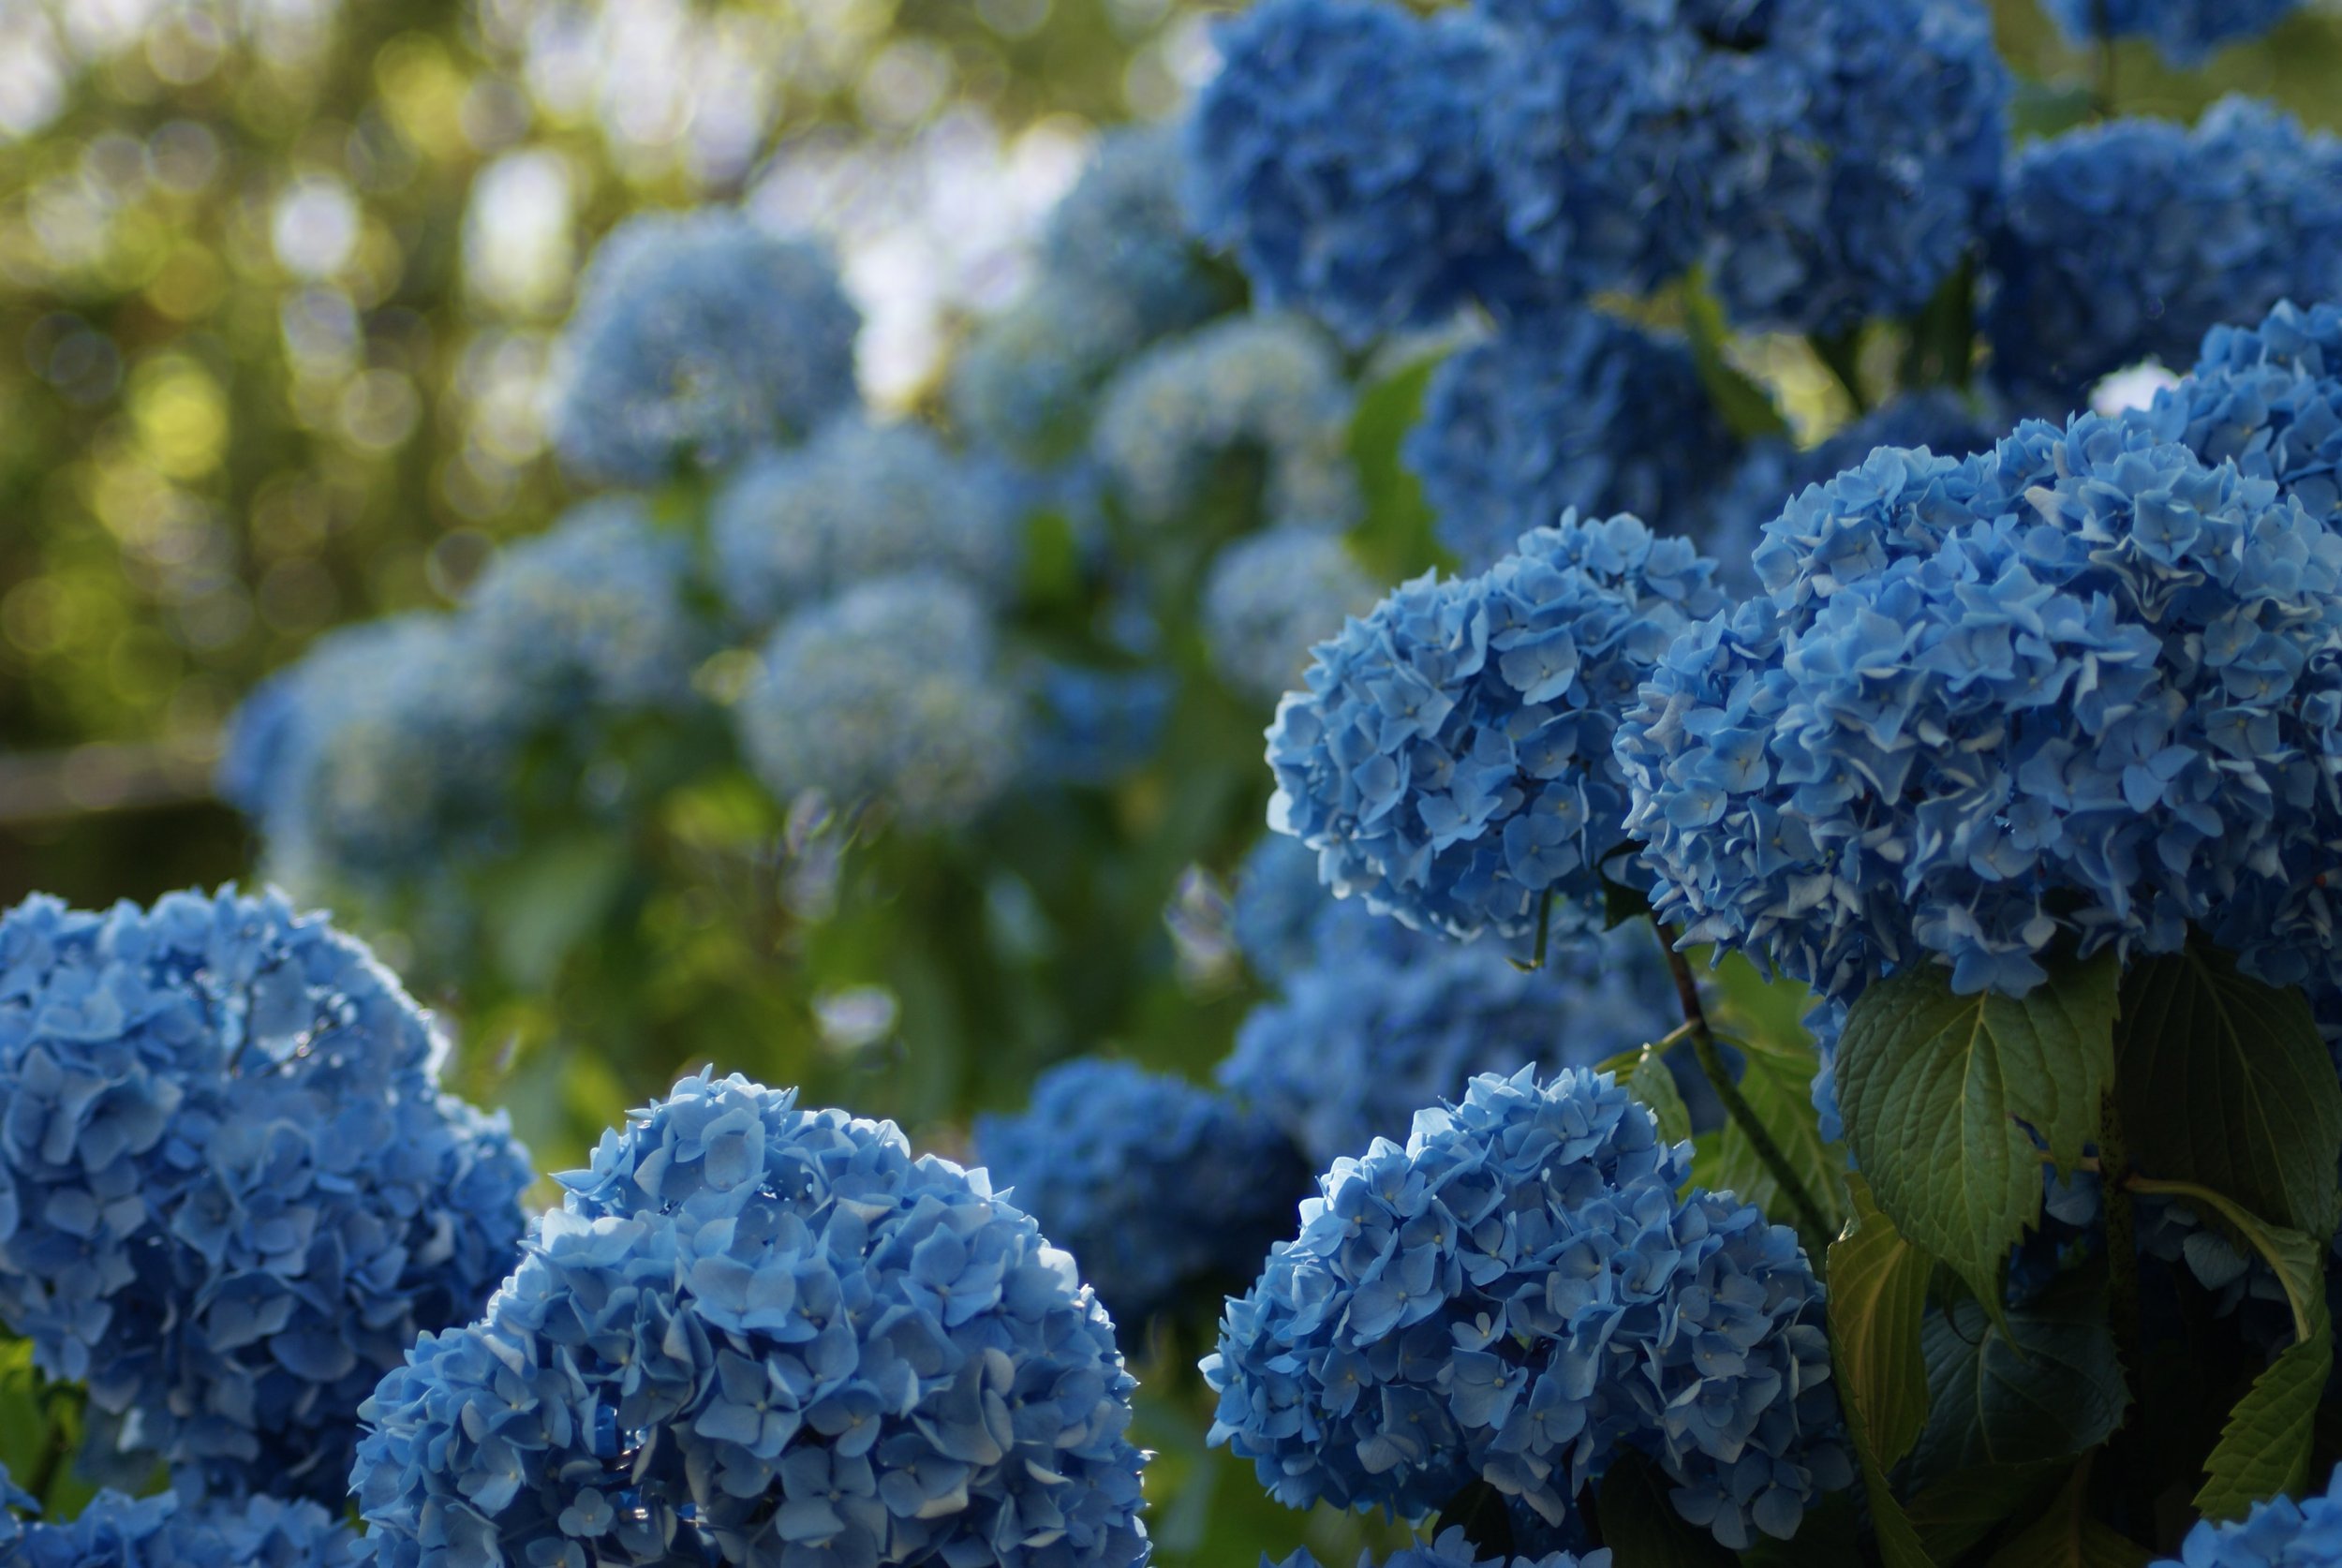
biodiversity collage
Archive the biodiversity of a hidden world with colourful collage artwork.
-
Create a biodiversity collage that reflects the biodiversity of a chosen ecosystem. This Fieldnote is designed for students in grades 4-6.
At the end of this activity, students will be able to:
define the terms diversity and biodiversity
identify and differentiate flora and fauna
create a biodiversity collage
-
This Fieldnote (“biodiversity collage”) involves inquiry-based learning in the following disciplines: science, geography, and visual arts.
-
Each student will require access to:
A Notebook
A Pencil
Coloured markers or pencil crayons
A black permanent marker
scissors
sticky tack or non-permanent adhesive
A backpack that will serve as a “Field Kit”
A Blanket to sit on (optional)
Snacks (optional)
A wildlife identification guide or a phone with the iNaturalist app (optional)
-
This Fieldnote (“biodiversity collage”) refers to the following terms: biodiversity, biodiversity loss, citizen science, climate, climate change, collage, colonization, diversity, ecosystem, fauna, flora, and forced assimilation.
Part 1. Island of Diversity
Activity Length: 30 minutes | Location: Classroom
Begin with the word “diversity” displayed at the front of the classroom.
Ask students what they already know about the word "diversity.” Explain that not everyone has the same life experiences, feelings and opinions, or hobbies — differences are okay, and we should celebrate them!
Demonstrate diversity in the classroom with an activity where students self-identify with different categories. For example, students who prefer swimming should touch one wall of the classroom; whereas students who prefer running should move to the other. Repeat this with examples including the number of languages one can speak, country of birth, favourite school subject, etc… This activity thrives with good questions; prompt one student at a time to generate their own questions and see how the class responds.
Close this discussion by having students imagine a world where everyone was exactly like you. Use this thought experiment to emphasize the importance of diversity.
Add the prefix “bio,” completing the word “biodiversity.”
Explain that “bio” means life or living things. With this information, prompt students to infer what biodiversity means. Explain that biodiversity refers to the different kinds of plants, animals, and living things found within any area (e.g. a playground, forest, coral reef, etc…).
As a class, discuss the diverse wildlife that inhabits the province. This is what biodiversity looks like.
For educators working in PEI, refer to and discuss student knowledge of and relationships with each animal listed on the Epekwitk page.
Optional: Each student should independently choose an animal that inhabits the province. With a partner, students should act out the animal they’ve selected without using words or writing. The partner should try and figure out which animal the other person is acting out. Alternatively, for older students, facilitate the same activity using the standard "twenty-questions” format.
Sketch a large zoomed-out map showing all nearby ecosystems.
It’s important that learners contribute to this planning. An ecosystem could be a playground, a city park, a wooded area, or a community garden. Next to the name of each ecosystem, write down any risks or obstacles that could make visiting difficult or unsafe.
Guide the class toward a decision on which ecosystem to visit.
Create a class checklist, and then pack your bags!
Necessary items include a notebook and writing utensils. Additional items might include a blanket to sit on, snacks, a wildlife identification guide or phones with the iNaturalist app installed. Ask that students wear comfortable footwear and clothing for the next class.
Part 2. Fieldwork
Activity Length: 30 minutes | Location: Outdoors
Begin with a Land Acknowledgement and discussion about the impacts of colonialism on diversity.
Explain that it’s important to recognize the countless generations of Indigenous people who have presided over the land previous to the arrival of settler populations — an event that we now refer to as colonization.
Refer to the forced assimilation of Indigenous Peoples, the process whereby settler populations pushed language, governance, and other aspects of Western European culture onto minority groups. Ask students how assimilation reduces diversity.
Explain that we share the land with plants and wildlife — some are obvious, and some are not. What might biodiversity have looked like millions of years ago when dinosaurs roamed the Earth? Why do you think the biodiversity of PEI has changed since colonization?
Discuss what it means to be a “citizen scientist.”
Citizen science is an invitation to the public — including students! — to join the fun of scientific research by going into the world and making observations.
Inform students that, as citizen scientists, they will document the biodiversity of the chosen ecosystem.
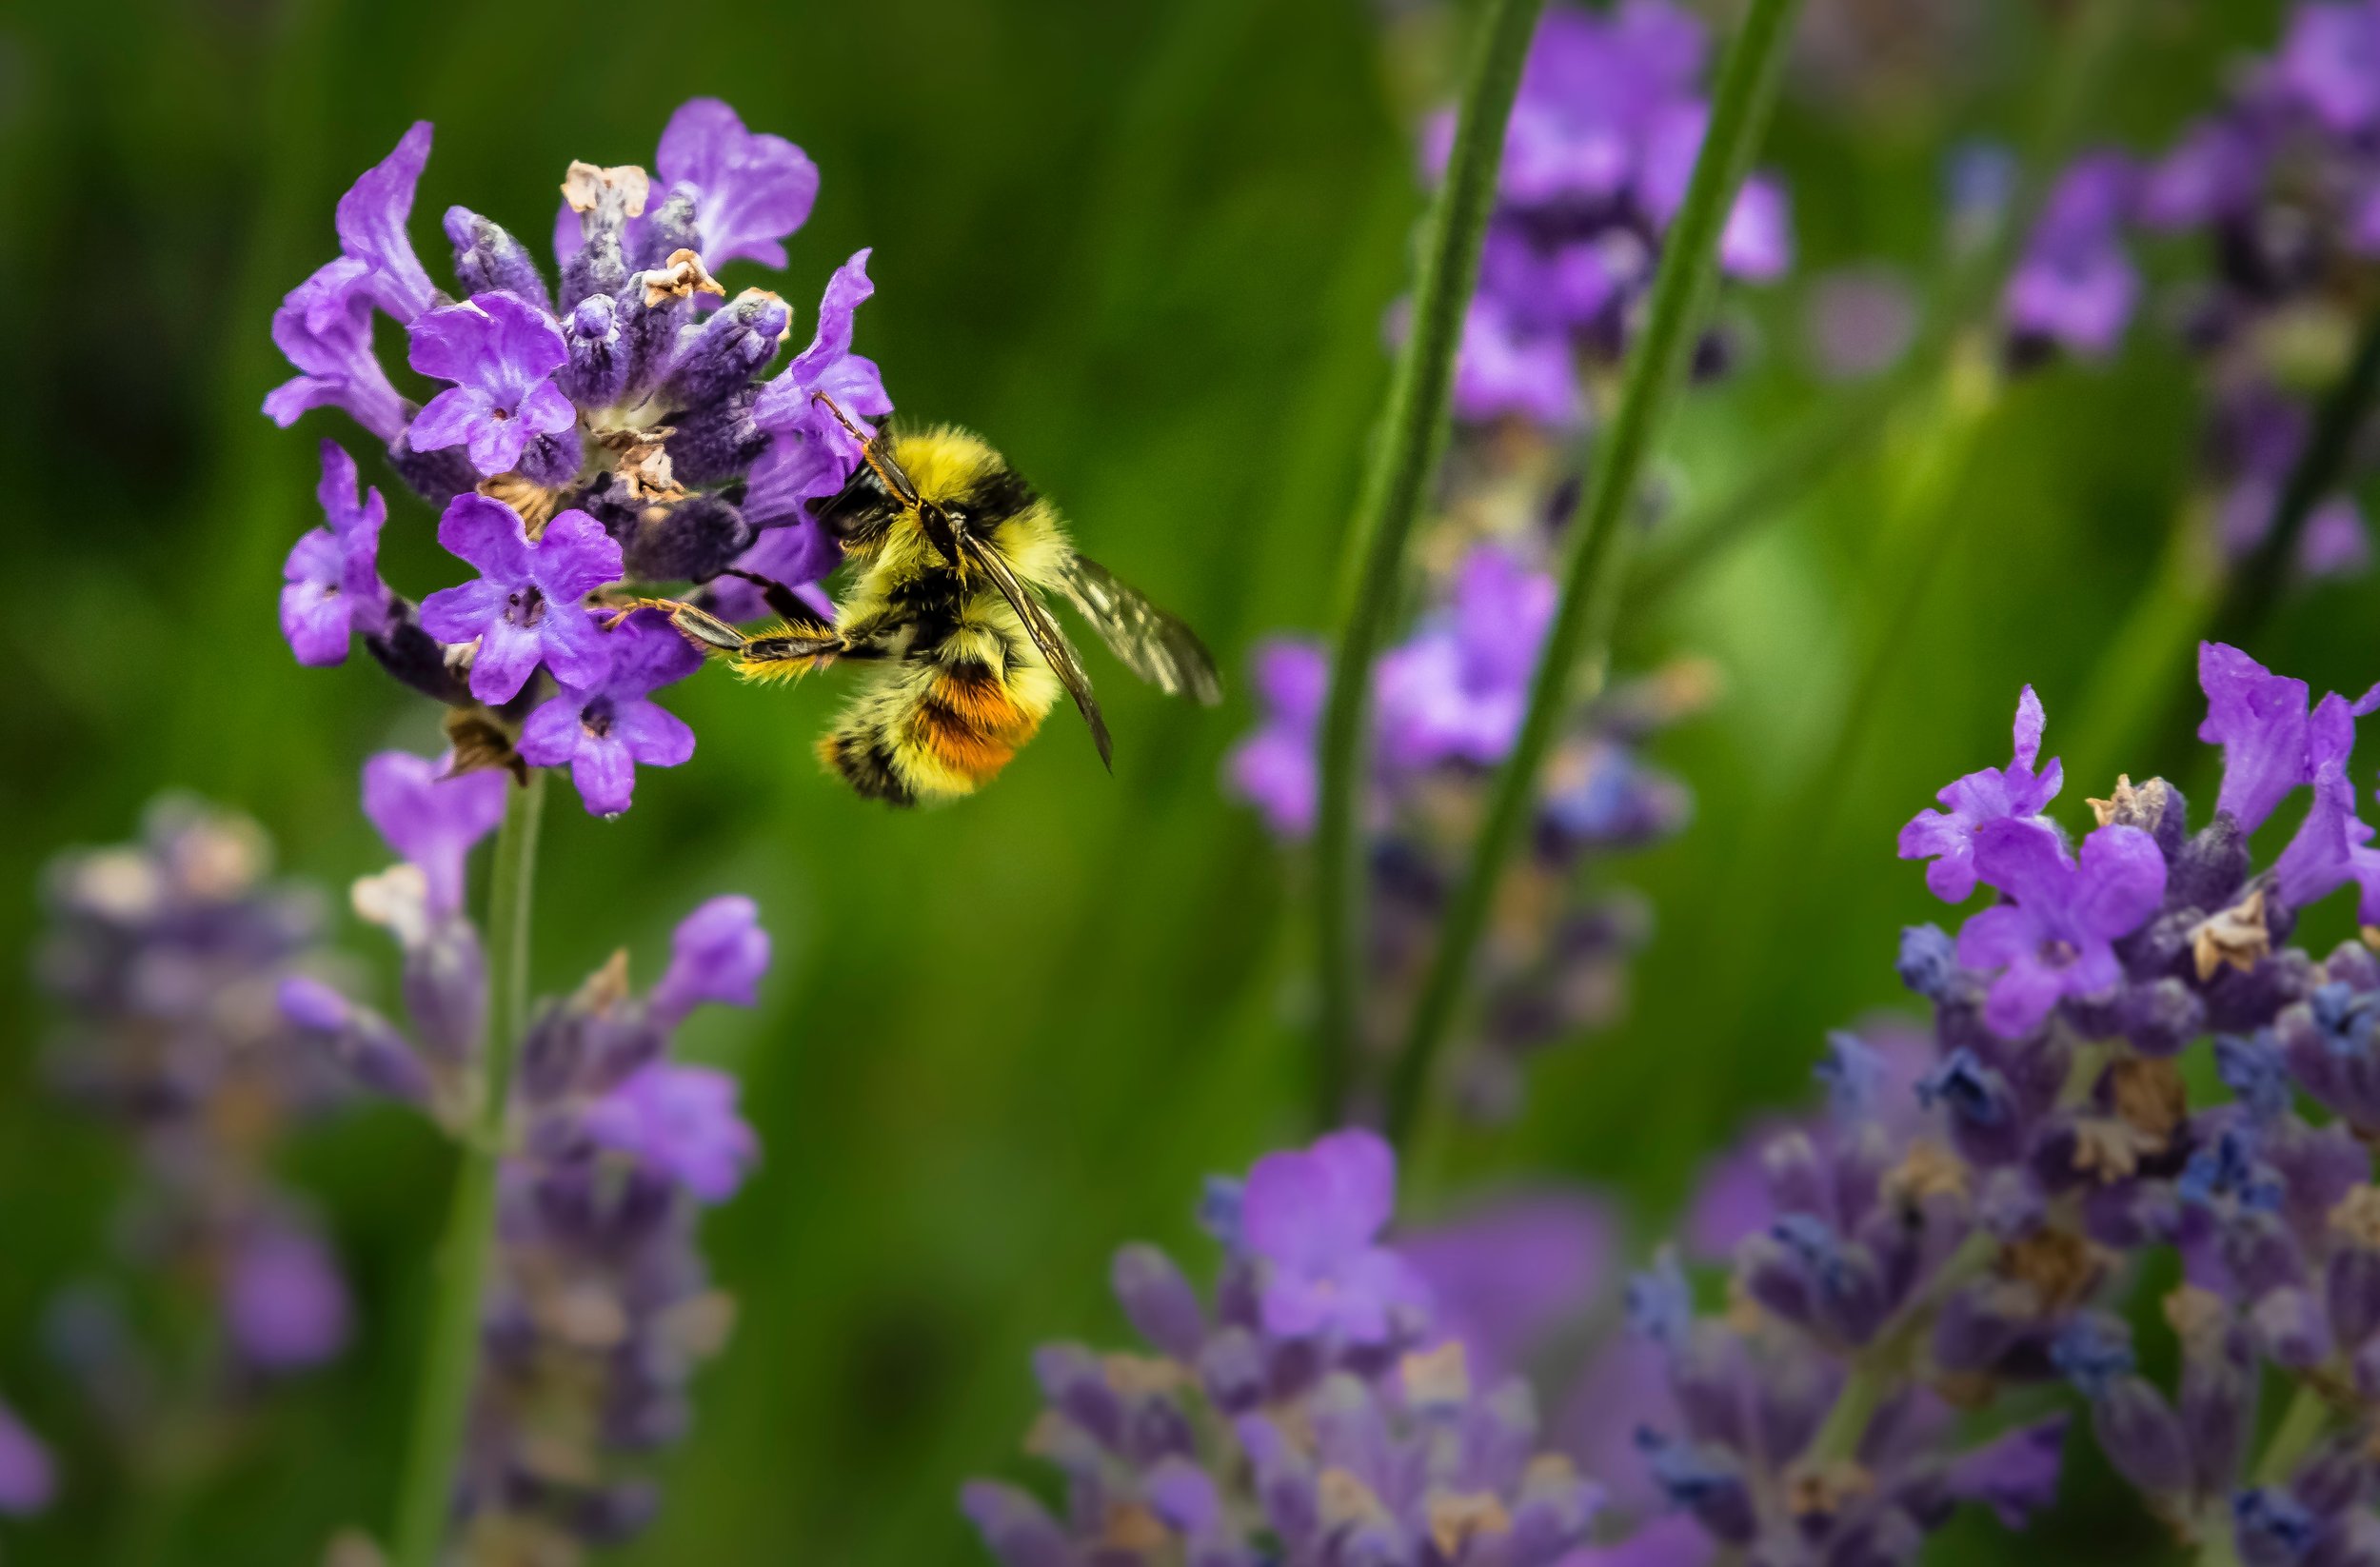
Introduce the terms flora, meaning plant life (e.g. trees, plants, moss, etc…) and fauna, meaning animal life (cows, foxes, mosquitos, etc…).
Framed as scientific observation, prompt learners to sketch all living things in the area.
Guided by curiosity, allow students to move around the area in search of biodiversity. Suggest that this be done without speaking.
Students should sketch in their notebooks all examples of life. Be cautious not to impose unnecessary rules or expectations (e.g. some students will choose to trace leaves, whereas others will sketch the whole tree).
Each living item should be labelled either flora or fauna. Beyond flora and fauna, students might also wish to draw non-living items such as rocks, water, or decaying organic matter.
Optional: Use iNaturalist or an alternative wildlife identification guide to determine the names of flora and fauna.

Part 3. Biodiversity Collage
Activity Length: 30 minutes | Location: Classroom
Begin with Think-Pair-Share (TPS) reflections on the outdoor citizen science experience.
Learners should first quietly consider highlights from the previous class. Then, they should discuss their observation work with a partner.
Write or sketch any important realizations or “a-ha” moments.
Prompt students to create good copies derived from their notebook sketches.
Using thick white paper or cardstock, each student should recreate a minimum of three good-copy drawings from their notebooks. Encourage the use of colour, and authenticity to what was observed outdoors.
The only explicit instruction you should give to students is to trace the outline of each drawing with a black permanent marker.
Each student should then carefully cut out their final drawings using scissors.
Prepare a posterboard or dedicated wall space for the biodiversity collage to be assembled.
One at a time, students should attach their drawings to the board using a temporary, non-destructive adhesive (e.g. sticky tack).
Assist with the layout, ensuring that all space is covered and at least a portion of each drawing is visible. Customary with collage artwork, encourage overlapping such that the final product is tasteful and aesthetically pleasing.
When creating a title to be displayed next to the collage, consider including the coordinates of the ecosystem and the date observations were made. You can challenge students to find the coordinates using Google Earth.
Discuss the significance of your completed biodiversity collage.
Explain that the collage can show us history — a snapshot in time that depicts the extent of biodiversity on the observation date.
Climate change continues to threaten species of flora and fauna found in PEI. What might a biodiversity collage look like if it were created in 100 years?
What might a biodiversity collage look like if it were created for a different ecosystem (e.g. coral reef, arctic, rainforest, etc…).
Example: How are the natural soundscapes of Ottawa-Gatineau changing?
Assembled by geography students at Hillcrest High School, this is a snapshot of life on March 30, 2023, in the Territory of the Anishinaabe Algonquin Nation. Where citizen science meets creative expression.
